
How to upload 360 photos from a Samsung Gear 360 to your Mac (and get them to look right)
Save time by stitching and downloading your 360s directly to your Mac; we’ll show you how

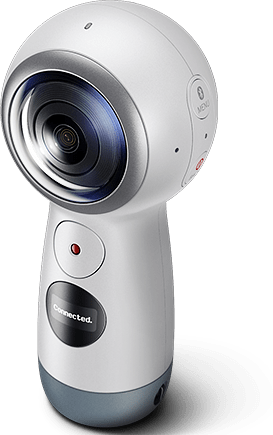
The Samsung Gear360 (2017 edition) — the one we refer to around here as the “keyhole” version— is one of the best price/performance/quality 360 cameras available, and is rightly one of the most popular 360 cameras on the market today.
But if you do any amount of work with it, there’s one issue that would make it better— and that’s a fast and easy workflow that gets the 360s onto your Mac. Sometimes connecting via wifi on your phone and waiting as the images all transfer takes way too long (plus it drains your batteries).
So why not just pop out the SD card and connect to your laptop? After all, every single digital camera ever invented works this way. It turns out that you can, but there’s a catch.
The problem: No stitching
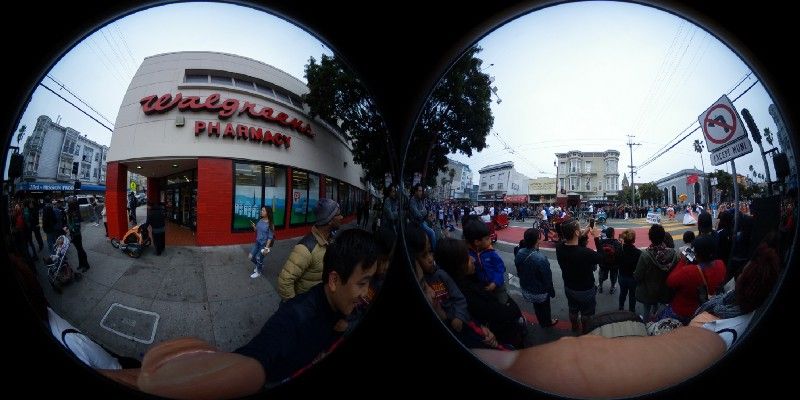
The biggest problem with the copy-to-computer method is that the Gear360 records your photos and videos as two circular images on a black background. Like this:
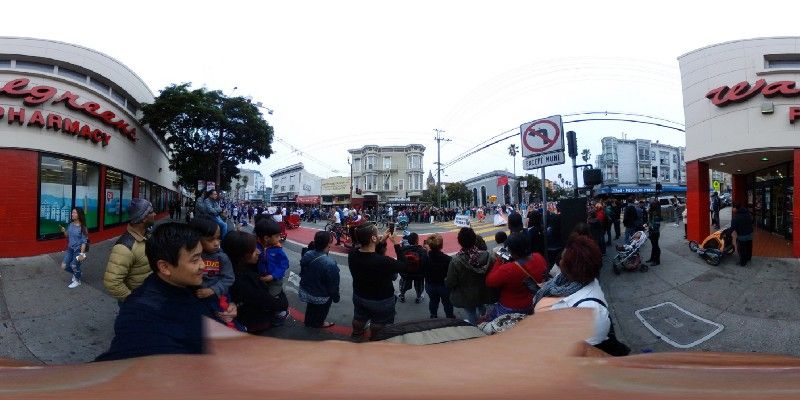
When what you really want is this:
If you’ve tried uploading unstitched photos to 360 viewers like Momento360, you’ve probably noticed that things don’t look quite right.
When you export photos/videos using the Gear360 smartphone app, it does this step (called stitching) when it saves to your camera roll. But when you copy the files directly to your laptop, it doesn’t happen, which is why the 360s look weird. Though it’s actually pretty simple to do, it’s not well documented.
We’re going to fix that for you right now.
How to download and stitch your 360s from a Samsung Gear 360 on a Mac
(Note: On Windows? Go here for our guide to how to do this on a PC)
1. Download and install the Mac Gear360 application
Go here to get the link (or click here to download it directly): https://www.samsung.com/us/support/answer/ANS00066650
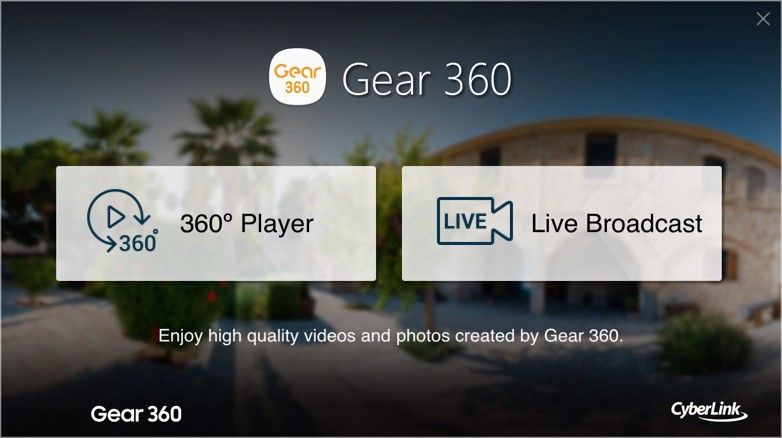
2. After it installs, run it and select the “360 player” option
It will be the option on the left.
3. Set your target output folder
Under Gear360 > Preferences menu, set the folder where you’ll want to store your stitched/processed 360s. (It’s called “Default saving folder”)

4. Import and stitch your photos
Click the Import button (the “+”) and navigate either to your SD card or to the folder where you have the images saved from your camera (if you point it at the SD card, it will stitch and then write the files to the folder you selected above).

Select the images you want to import and click open.
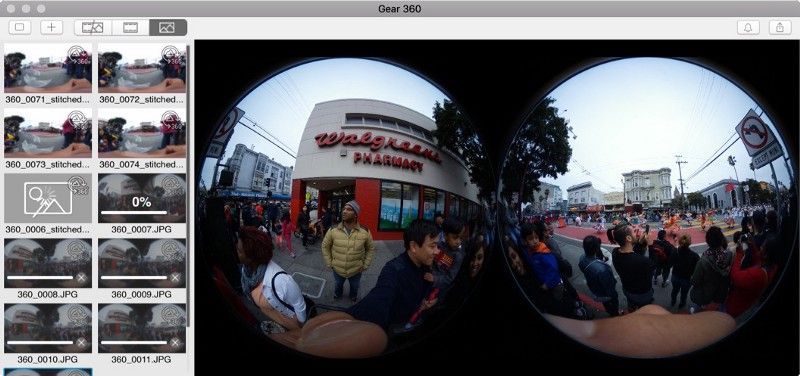
You’ll see it start importing files. A progress bar will display on the thumbnails as it works its way through all the stitching work:
This can take a long time if you have a lot of images or a lot of video, and can take up some battery if you’re on a laptop (you’ll probably notice your computer fan start to spin up after a while!).
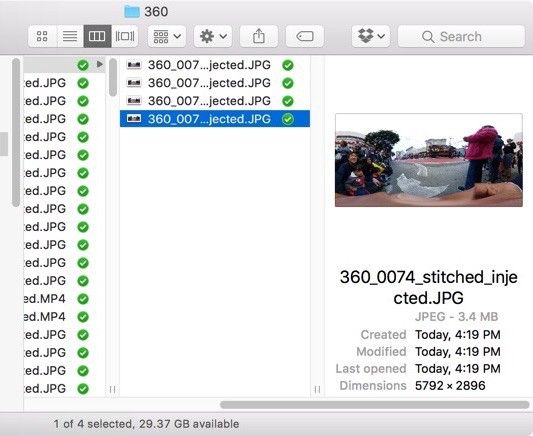
5. Enjoy your correctly stitched 360s
As the images finish you’ll see the stitched images appear with _stitched_injected appended to the file names in your target folder. They’ve now been stitched and are ready to go!
Now you’re all set! Now you can share them on Facebook, send them via email, share them via IM, publish them on your blog, embed them on a website, view them in Virtual Reality, create a virtual tour—whatever you want to do, and it will look right!
Momento360 enables you to make the most of your 360 photos and videos. Upload, view, and share — privately or publicly — on the web and in VR. Check out some of our other guides to see what else you can do with your 360s!